Top 6 Must-Do Hikes in Whistler, BC
If you like hiking, you’ll love hiking in British Columbia (BC), on the West Coast of Canada. I was fortunate enough to live in the ski town Whistler in BC for 2 years, and whilst the winter season runs from November to May and seems to go on forever, summer arrives soon enough and with it, so does the hiking.
Hiking in BC is no joke though, and there is gear you need to carry with you that you might not necessarily need elsewhere. One thing I wouldn’t recommend hiking without is bear spray. Black Bears can be found in every part of the province, and there are also regular sightings of grizzly bears. British Columbia is therefore known as ‘bear country’. Although most bears are wary of humans, carrying bear spray gives you an extra layer of protection. If you see a bear, do not run away, access your bear spray quickly and act based on the bears behaviour. Follow this link to find out more about wildlife safety from the BC Parks website.
Other gear I would always recommend carrying in BC is bug spray (the mosquitoes are huge and relentless!), lots of water, a GPS if you’re heading off the beaten track, first aid kit, snacks, battery packs, clothing for all weather and always tell someone where you are going!
Below I have outlined my top 6 hikes I did whilst living in BC! The hikes are either in Whistler or on the sea-to-sky highway between Whistler and Vancouver, or just north of Whistler in Pemberton, so great recommendations for anyone living along the S2S! This list is in no way exhaustive, so don’t be surprised to see a part 2 from me sometime soon. For now, please share this post with anyone you know living in the area as summer is approaching, the mountains are defrosting and calling your name!
Contents:
Panorama Ridge & Black Tusk
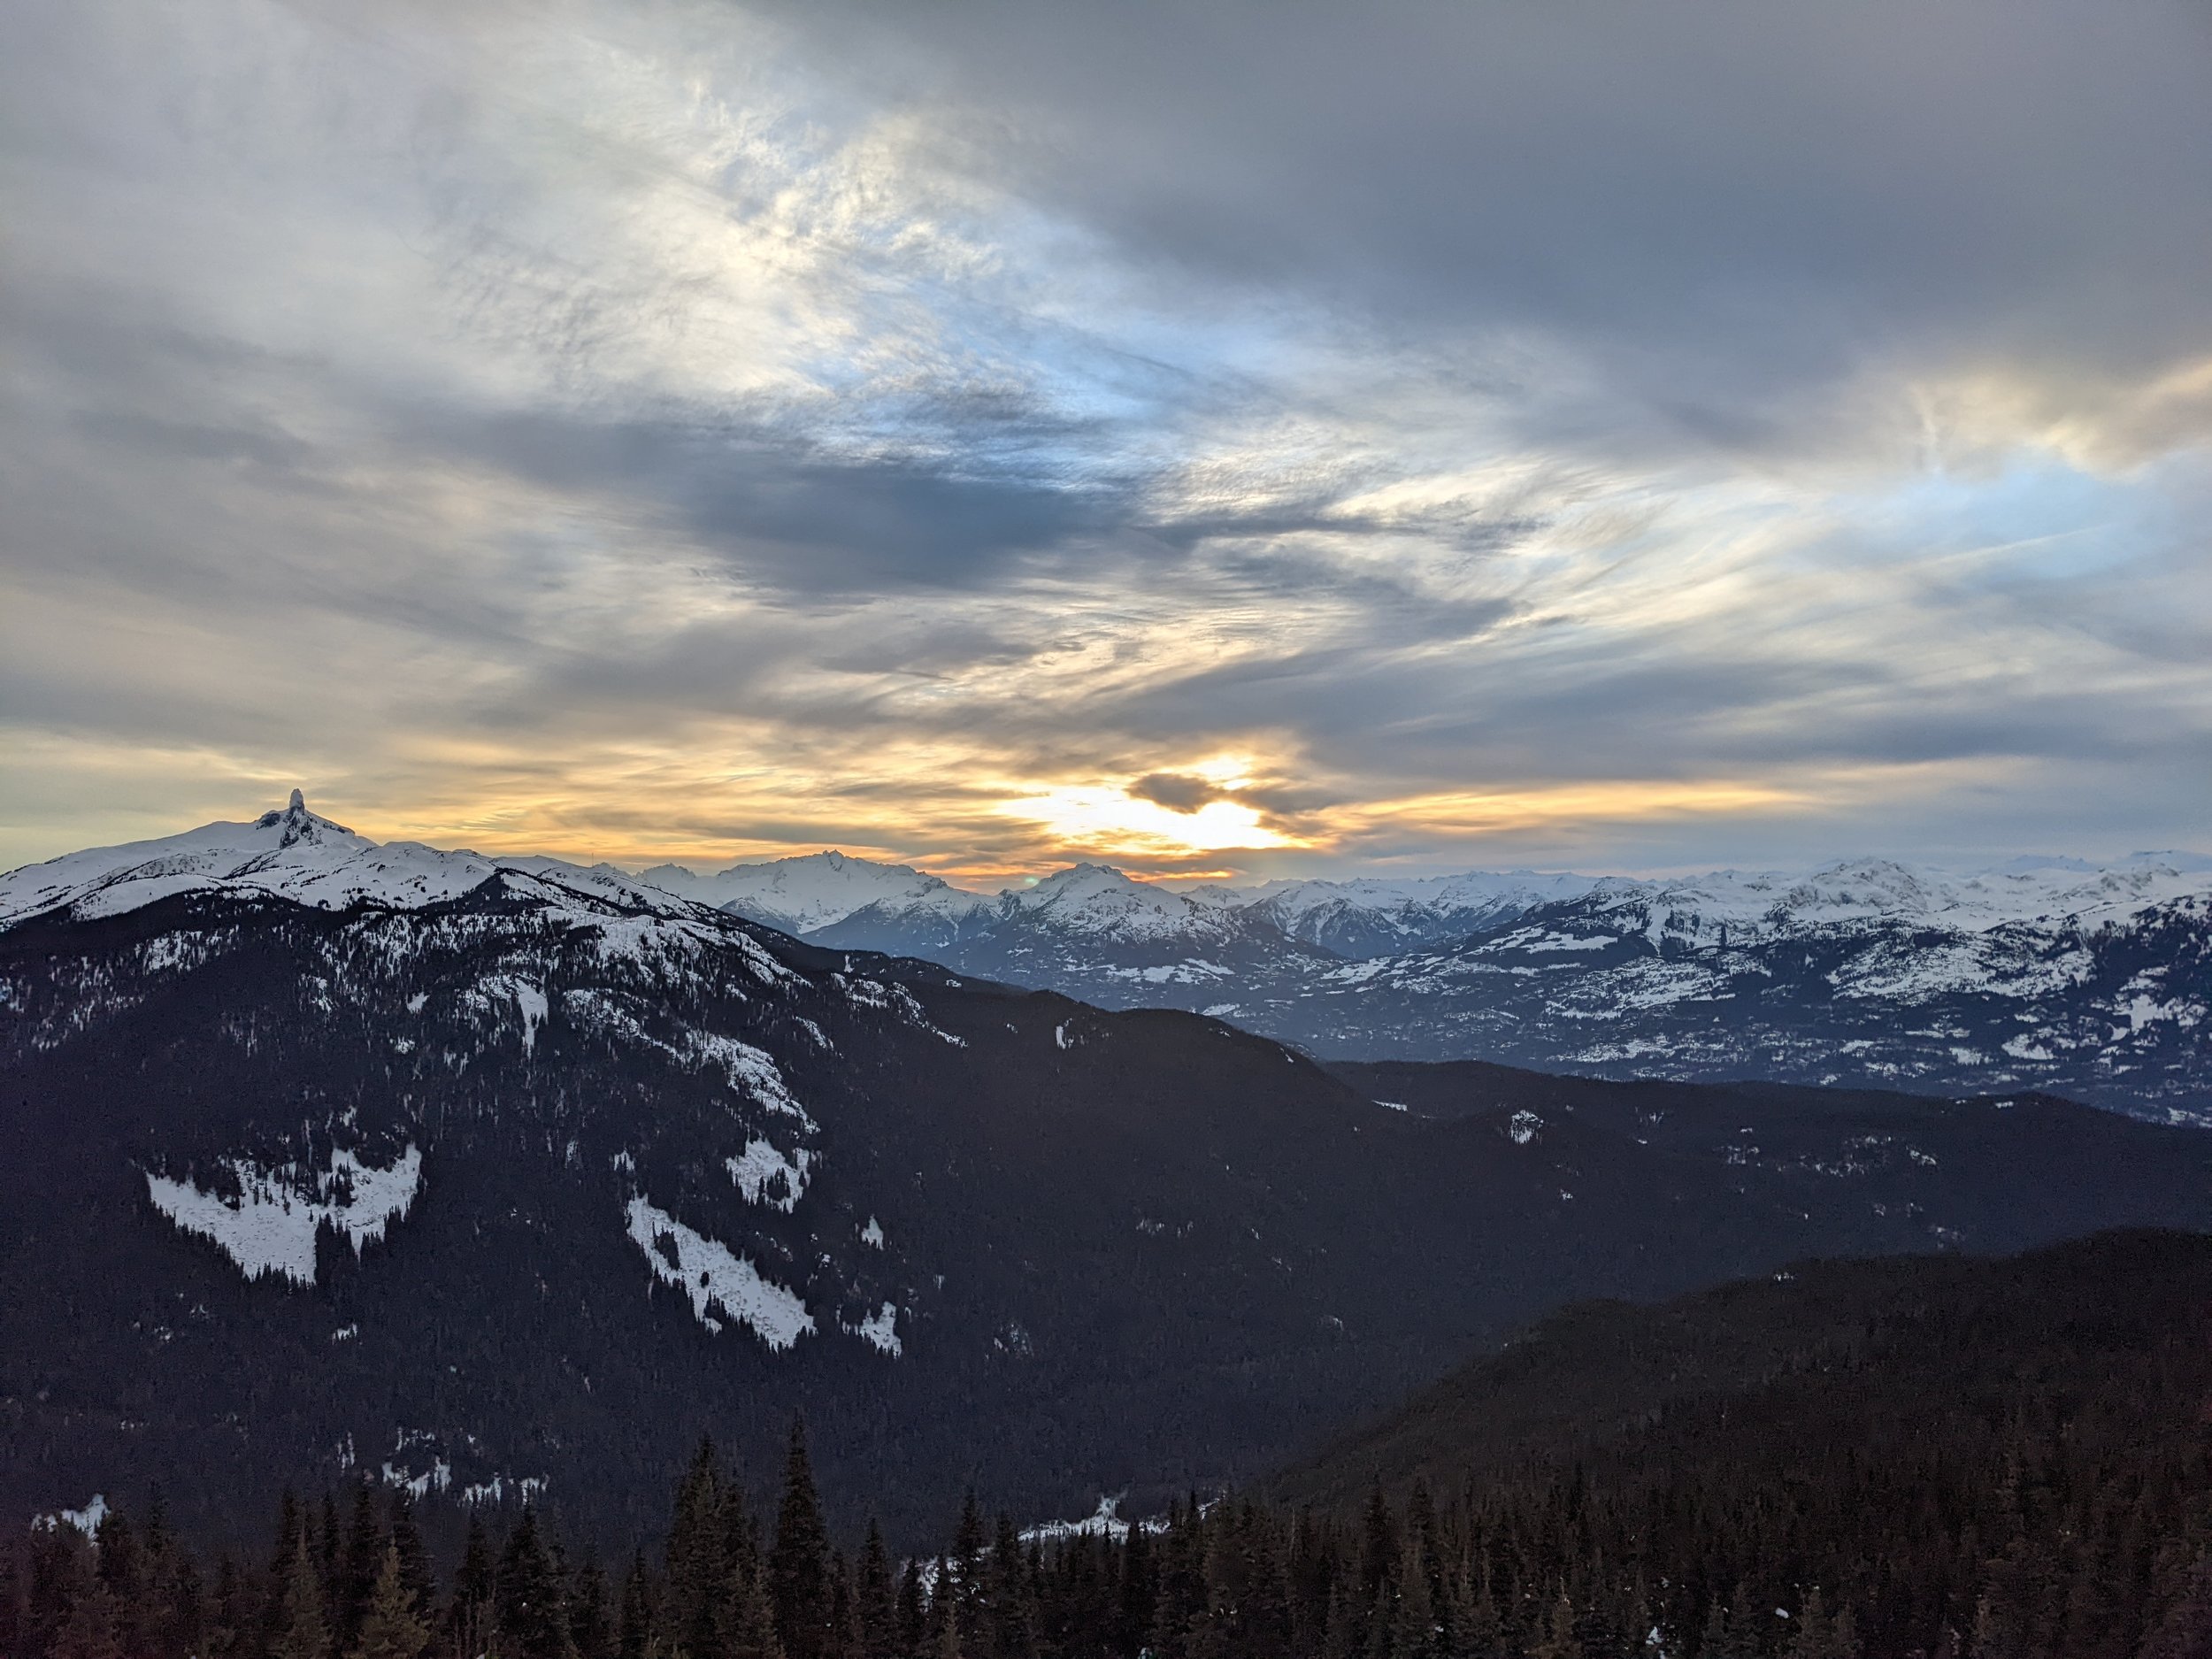
Although Panorama Ridge & Black Tusk are technically 2 separate hikes, they both start at the same locations and if you’re feeling fit enough, can be done on the same day or as part of a multi-day hike. Black Tusk is one of the best-known mountains in the Garibaldi Ranges, mainly down to its immediately identifiable features which can be seen from a great distance. In the winter prior to me completing this hike, I spent many sunsets on Whistler Mountain staring at this huge rock wondering how anyone could climb it. Turns out I could! Panorama Ridge is also in the Garibaldi Ranges and is most famous for its incredible views overlooking Garibaldi Lake. Although the reward is great, neither of these hikes are easy and require a good level of fitness to complete.
Both hikes can either start from Cheakamus Lake Trailhead or Rubble Creek. The distances are as follows along with links to more detailed explanations of the hikes from AllTrails or Vancouver Trails
· Cheakamus Lake Trailhead to Panorama Ridge – 29.6km round trip
· Cheakamus Lake Trailhead to Black Tusk – 33km round trip
· Rubble Creek to Panorama Ridge including side trip to Garibaldi Lake – 30km round trip
· Rubble Creek to Black Tusk including side trip to Garibaldi Lake – 29km round trip
If you are planning to do it over multiple days, there are a few options for camping. If you start in Cheakamus, there is Helm Creek Campground which has 30 backcountry sites. If you start at Rubble Creek, you can choose from Taylor Meadows (40 sites) or Garibaldi Lake Campground (50 sites). The latter is usually more popular and then Taylor Meadows tends to host the overflow. All campsites need to be booked in advance on the BC Parks site. You should also bare in mind that to limit the number of hikers, BC Parks have introduced the requirement for a free day-use pass to access these hikes, however if you have a valid overnight camping reservation you do not need the day-use pass.
The views from these hikes alone are what make these probably the most popular hikes along the sea to sky. I did both hikes towards the end of summer in August and September and the weather is a key factor. You want to make sure it’s clear for both as the top of Black Tusk can get quite sketchy and you certainly don’t want to miss the view at the top of Panorama Ridge. So make sure to plan head and even consider having a campsite booked so if the weather isn’t good on the first day, you can attempt it again in the morning!
Other things to consider:
· No dogs allowed, pups have to stay at home.
· Pack in pack out, take all rubbish away with you!
· Be bear aware!
· Tell someone your planned route and take a GPS if you have one! Download your desired route on AllTrails before you set off.
· Bring a camera, the views are breathtaking.
· Bring a battery pack for your phone, especially if you plan to stay overnight.
· There are toilet facilities at the start of each trail and at the campgrounds.
High Note Trail easily became a favourite between my friends and I, with us doing it multiple times throughout each summer. The view of Black Tusk is breathtaking on a clear day and once you’re able to see Cheakamus Lake the whole hike becomes worth it. This hike is only available to do June to October as it is at the peak of Whistler Mountain and requires use of the Gondola and Peak Express chairlift to access it. You can do this hike either clockwise or counterclockwise starting at Roundhouse, but my personal favourite is to start at the top of peak chair.
As you need to use the Whistler Village Gondola and the Peak Express Chairlift for this hike, you will need a pass to do this, and there are a couple of options available. If you plan to do more than 1 hike in the season, it is worth getting the Unlimited Access pass which is currently 130CAD for the 2024 season (price due to increase on June 17th). This will give you alpine hiking access to both Whistler and Blackcomb Mountain. Compared to a day-pass which is currently 99CAD, unless you know for sure this is your only hike of the season, go for the season pass. Another option is through your employer. Many employers in Whistler offer a ‘Spirit Pass’ as part of your employment, which also gives you access to the alpine in the summer following the winter season. The final option is if you are planning to stay for winter, you can pre-purchase your epic pass and that will also give you access to the alpine the summer prior to the season. For more information check out the Whistler Blackcomb website.
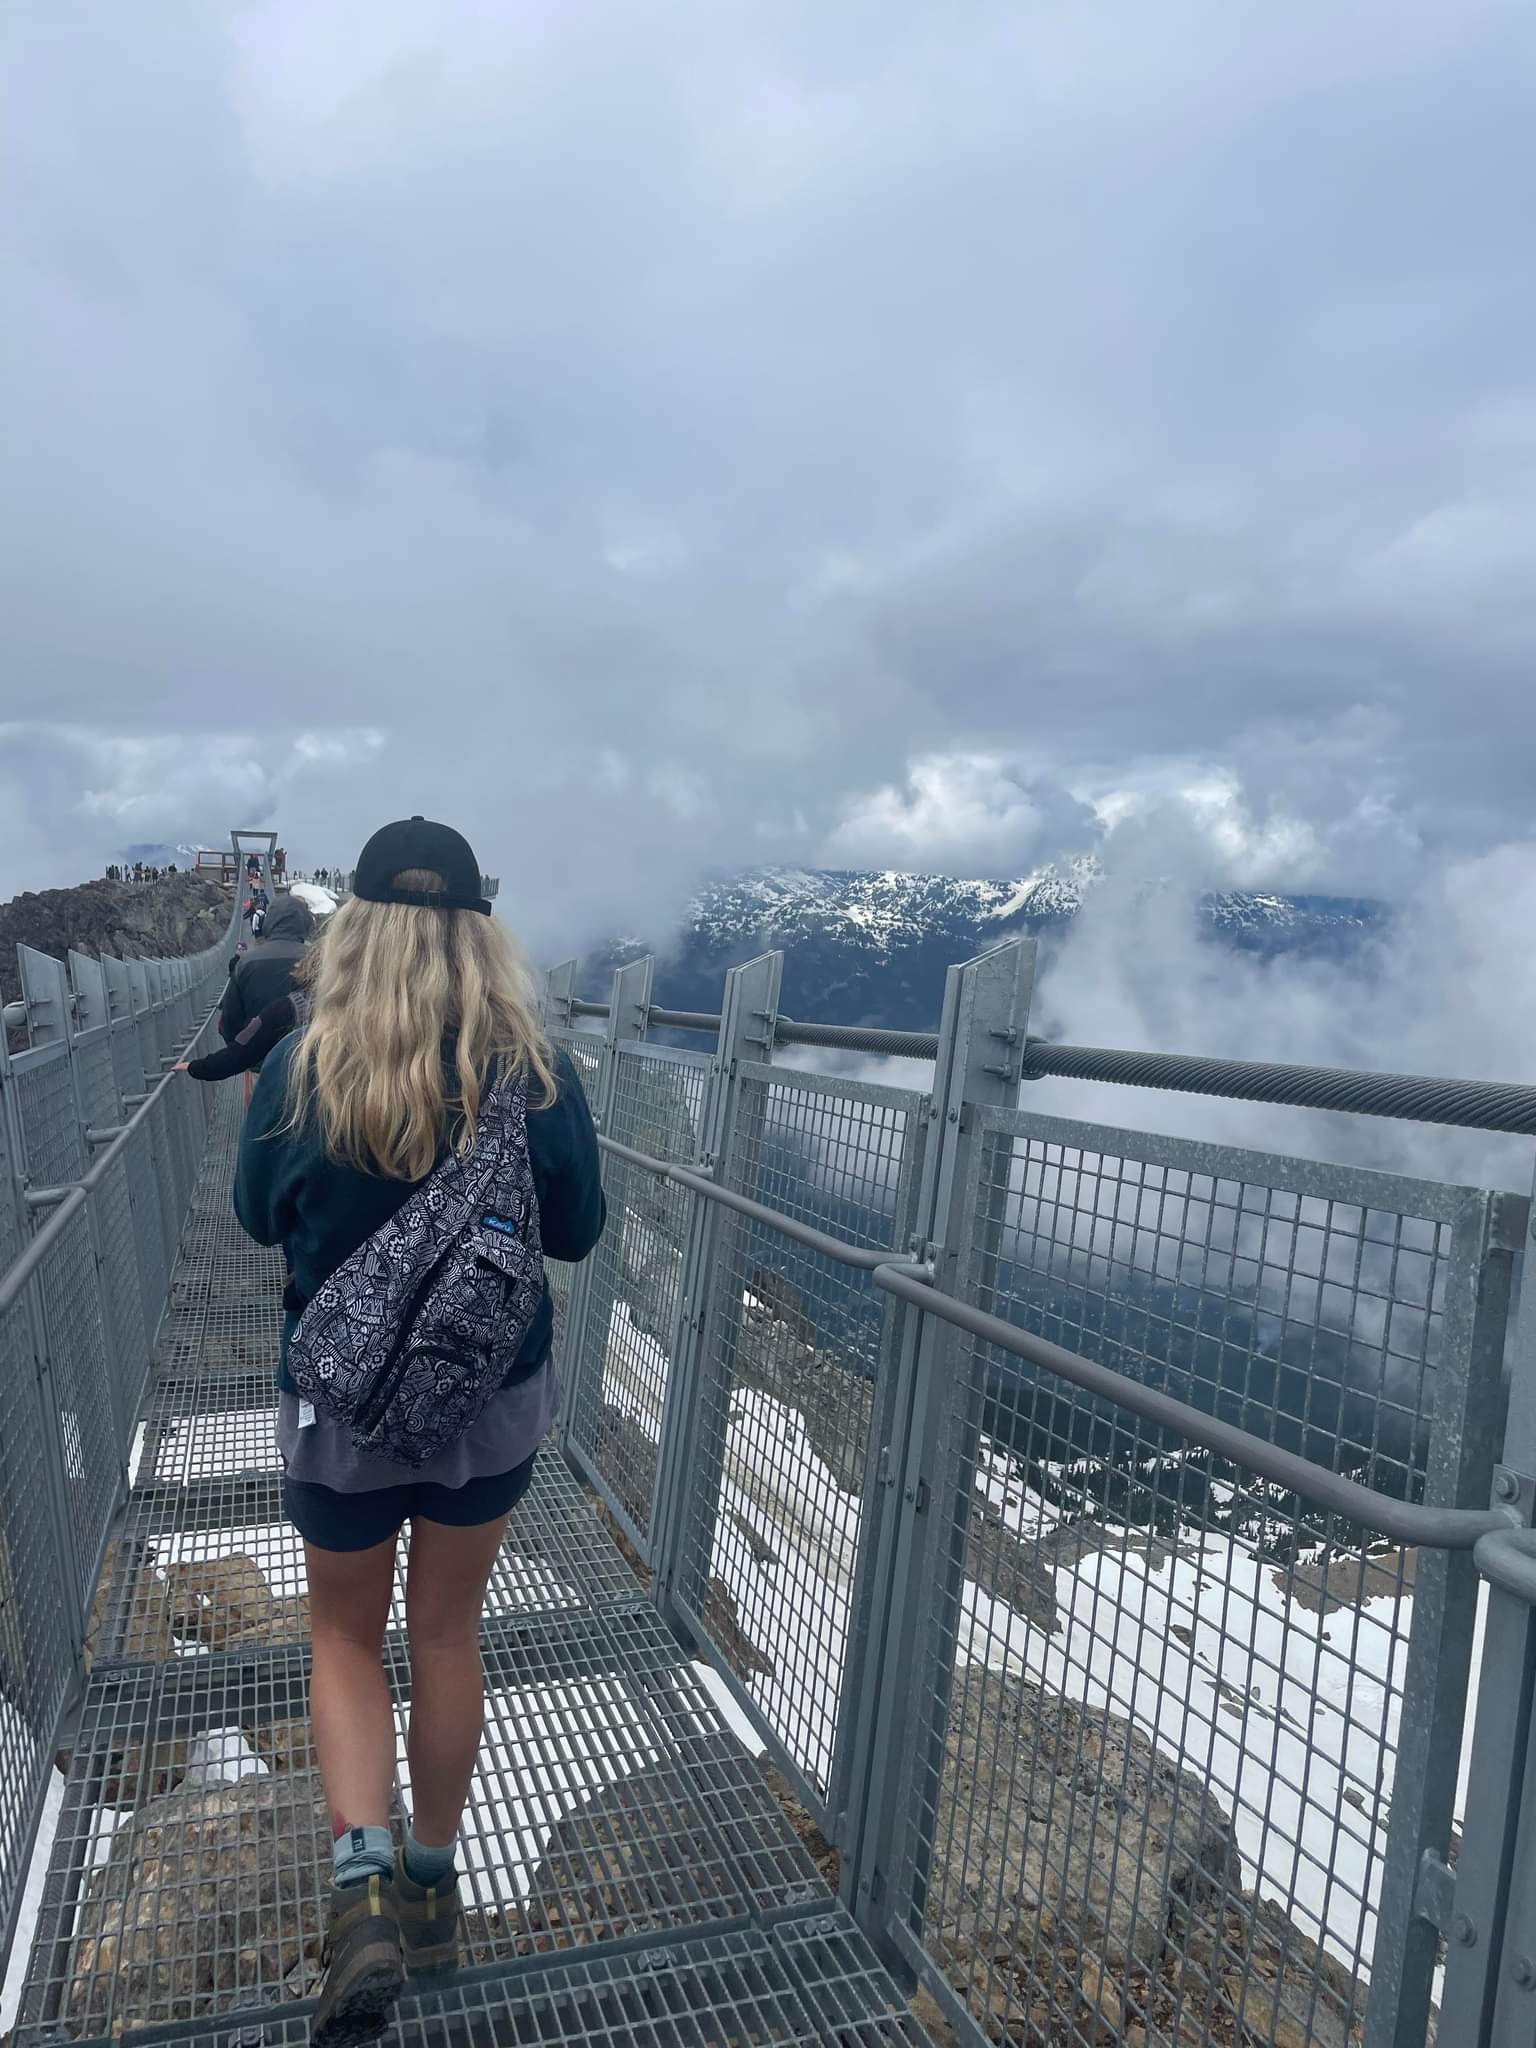
Back to the hike! To start the hike, take the Gondola from Whistler Village all the way to Roundhouse at the top. Here you can stock up on drinks and snacks and make sure all your water containers are full! Then you take a short walk down to the Peak Express Chair. There is a height limit to ride this chair so make sure all children reach this limit before deciding on this route. If you have rode the Peak chair in winter, you will know how steep it can feel; well be prepared because it feels much steeper in summer with all the exposed rock. Once you’re at the top of peak chair, you can cross over the suspension bridge to your right and take in the stunning 360 views. You will find the start of the High Note Trail on the other side of this bridge.
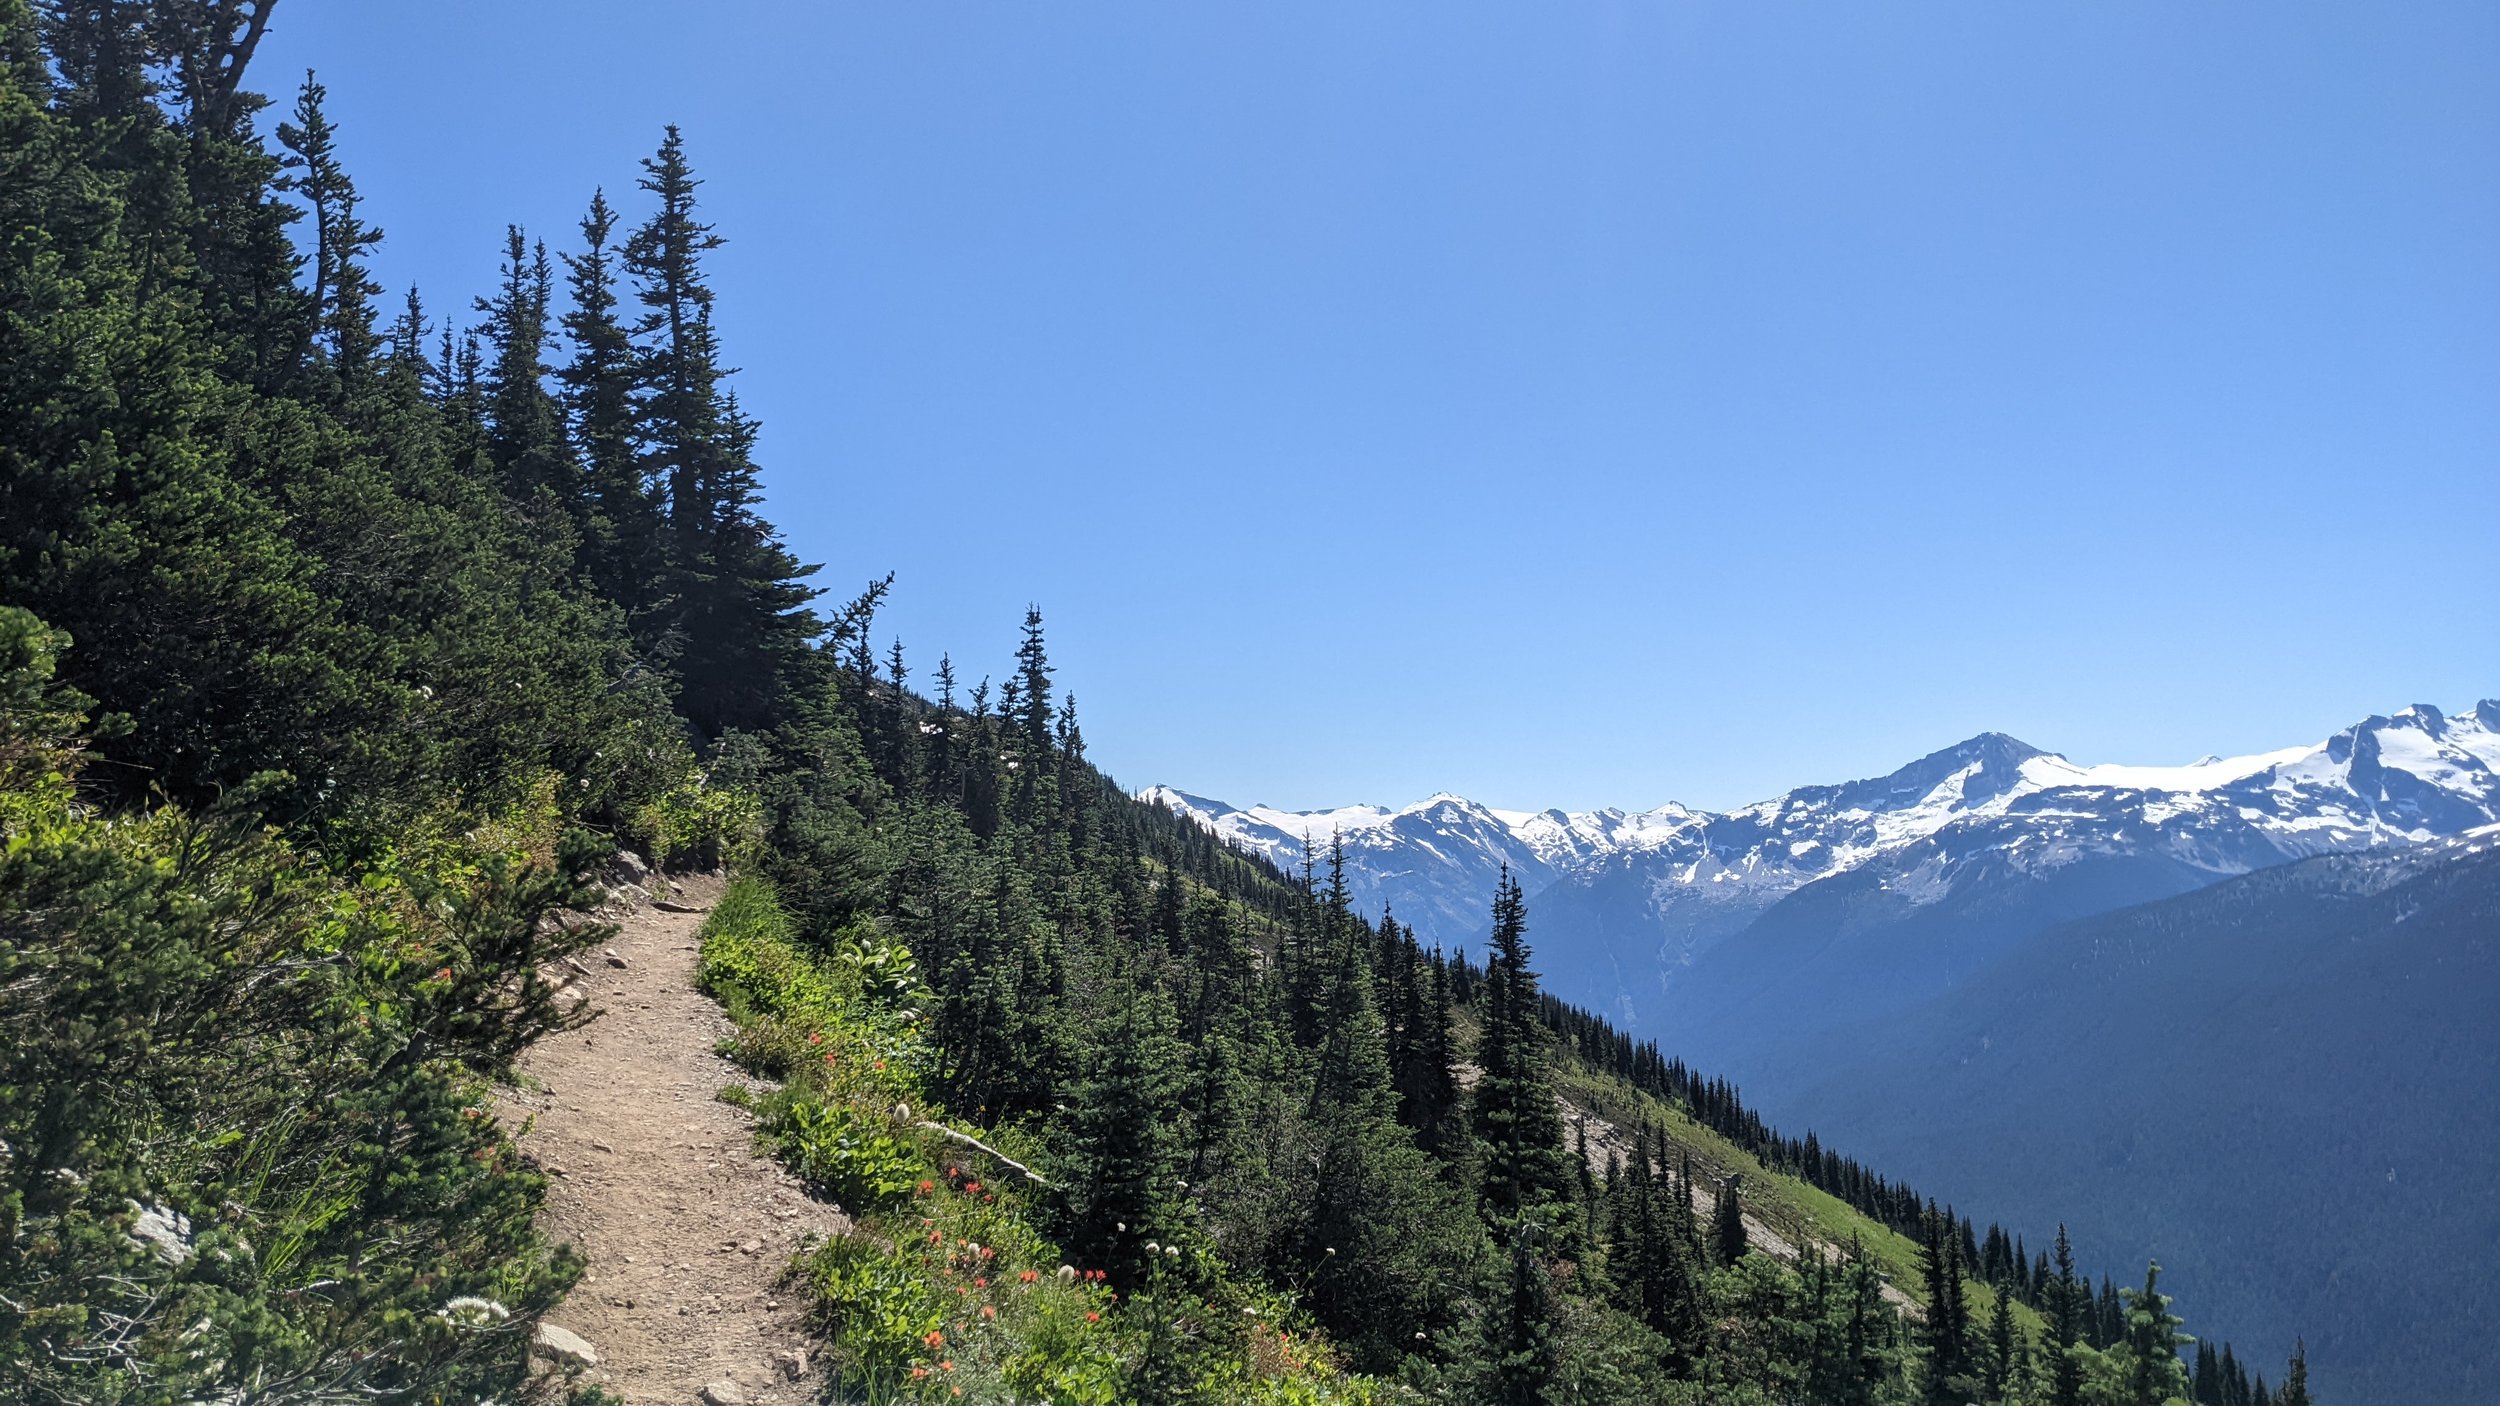
The High Note Trail wraps around the back of the mountain and is easy to follow, but that does not mean it is an easy hike. There are gravelled parts and sections of the route that require the use of chains to hoist yourself up. After you have reached the first viewpoint of the turquoise blue Cheakamus Lake, you have the option to take the ‘half-note trail’. This trail offers a shorter but steeper route back to an access road that leads to the gondola. If you’re short on time you can take this route, but I highly recommend sticking right to finish the High Note Trail. The trail will eventually take you down into Sun Bowl and towards Harmony Lake which is the last part of the hike before starting the uphill back to Roundhouse.
Other things to consider:
· Dogs are unfortunately not permitted as they cannot use the gondolas or chairlifts.
· Carry bear spray, bug spray, water, snacks, first aid kits and a battery pack for your phone!
· Although this route is easy to follow, its worth downloading the route on AllTrails before you set off.
· There are toilet facilities located at Roundhouse and at the top of Peak Express.
· There are no camping facilities for this trail, it is intended as a day hike.
Iceberg Lake via 19-Mile Creek:
Distance: 18km return Average Time: 6hr 39m Elevation Gain: 997m
I hadn’t heard many people talking about Iceberg Lake prior to doing it. With such big rivals around, this one gets kind of over shadowed. But I saw it one morning on AllTrails and was instantly sold by the pictures. I did this hike in June and there was still snow at the top, so I would recommend sticking to this in the summer months unless you’re an experienced winter hiker. The route begins at the end of Mountain View Drive in the Whistler suburb of Alpine Meadows which is easily accessed by bus from Whistler Village or there is limited parking on the road. The trail can be a bit confusing towards the lower section as there are multiple routes but sticking to the ‘lower 19-mile creek trail’ will take you to the upper trail which goes direct to Iceberg Lake.
The lower section of this hike involves up-hill walking along the 19-mile river, across wooden bridges and past waterfalls with stunning views of Green Lake. If you’ve successfully followed the route, you’ll make it to the upper trail and eventually it will open to the meadows which if you have timed it right, will be filled with bloomed wildflowers. The route through the meadows is beautiful and make sure to keep looking behind you as the view of Green Lake expands. The last part of the hike is a large boulder field where it can be easy to go the wrong way (I did!). Try to follow the markers and eventually you will make it just above Iceberg Lake where you can stop and enjoy the view or continue to the edge of the lake for a swim if you’re feeling brave (I wasn’t!). As this is an out and back trail, you can then just make your way back the way you came. I really loved this hike because it was not busy at all compared to the other hikes which are popular with both tourists and locals, and although there was a lot of incline, it didn’t feel too challenging at all!
Other things to consider:
· No day-pass or tickets required for this hike!
· This hike is not dog or camping friendly.
· There are toilet facilities at the meadows.
· There are no garbage facilities so take out what you take in.
· As it’s not as busy and quite easy to go off route, tell someone where you are going, take a GPS if you have one, download the route before you go and take a battery pack for your phone!
· As always, take bear spray, bug spray, water, first aid kit etc.
The Stawamus Chief: First, Second & Third Peak
Distance: 5.8km loop for all 3 peaks Average time: 6 hours Elevation Gain: 657m
If you’ve lived in or visited either Whistler, Squamish, or Vancouver, I’m certain you will have heard of ‘The Chief’ hike. If you’ve driven through Squamish, you will have seen it. The Stawamus Chief towers over Squamish and is very popular amongst hikers and climbers. Don’t be fooled by the shorter distance though, this is not for inexperienced hikers as it involves many steps, as well as technical features including chains and ladders. The trailhead is just off the sea-to-sky highway in Squamish where there is also parking and the campground. This hike can be done in a couple of ways; for a shorter version you can easily skip the first peak. You can also go either clockwise or counterclockwise. I did it clockwise and stayed left towards ‘lookout rock’ and past the chains and ladders to go straight to Peak 1. After peak 1, you go back on yourself to the junction and continue left to peak 2 and then peak 3. I then continued the loop and took the stair-route down past the caves.
The views at the top of The Chief of Squamish, Howe Sound and north to Garibaldi Park are incredible. I argue that peak 2 has the best views as they stretched further. There is also plenty of space to sit down and reward yourself with a picnic and rest your legs for the journey down. This hike is extremely popular, so expect to see others on the trail. Try and set out early to avoid crowds and make sure to get yourself a parking space. If you have the time, I recommend camping the night before at the base. There are 52 vehicle-accessible sites and 57 walk in sites which are all first come first served and cannot be booked. Camping would allow you to set off early in the morning to beat the crowds. Despite how popular it is, a day-pass is not currently required but keep an eye on the BC Parks website in case this changes.
Other things to note:
· Dogs are allowed on leash!
· Toilet facilities are at the base.
· Pack in and pack out all garbage.
· Carry the essentials including bear spray. Despite them not being seen as often as it is such a popular trail, they are definitely in close proximity.
Tunnel Bluffs from Lions Bay
Distance: 11.3km return Average time: 3 hours 50 minutes Elevation Gain: 533m
Whilst this route is closer to Vancouver than to Whistler, I would highly recommend it due to the view to effort reward ratio. It is a great hike to stop off and do if you’re driving between Whistler and Vancouver on the Sea-to-Sky highway. Bear in mind, parking at the original Tunnel Bluffs carpark has now been limited to 30 minutes so it is better to start off at the Sunset Drive Trailhead. This is a small car park so be prepared to get there early and wait or pay to park on nearby streets.
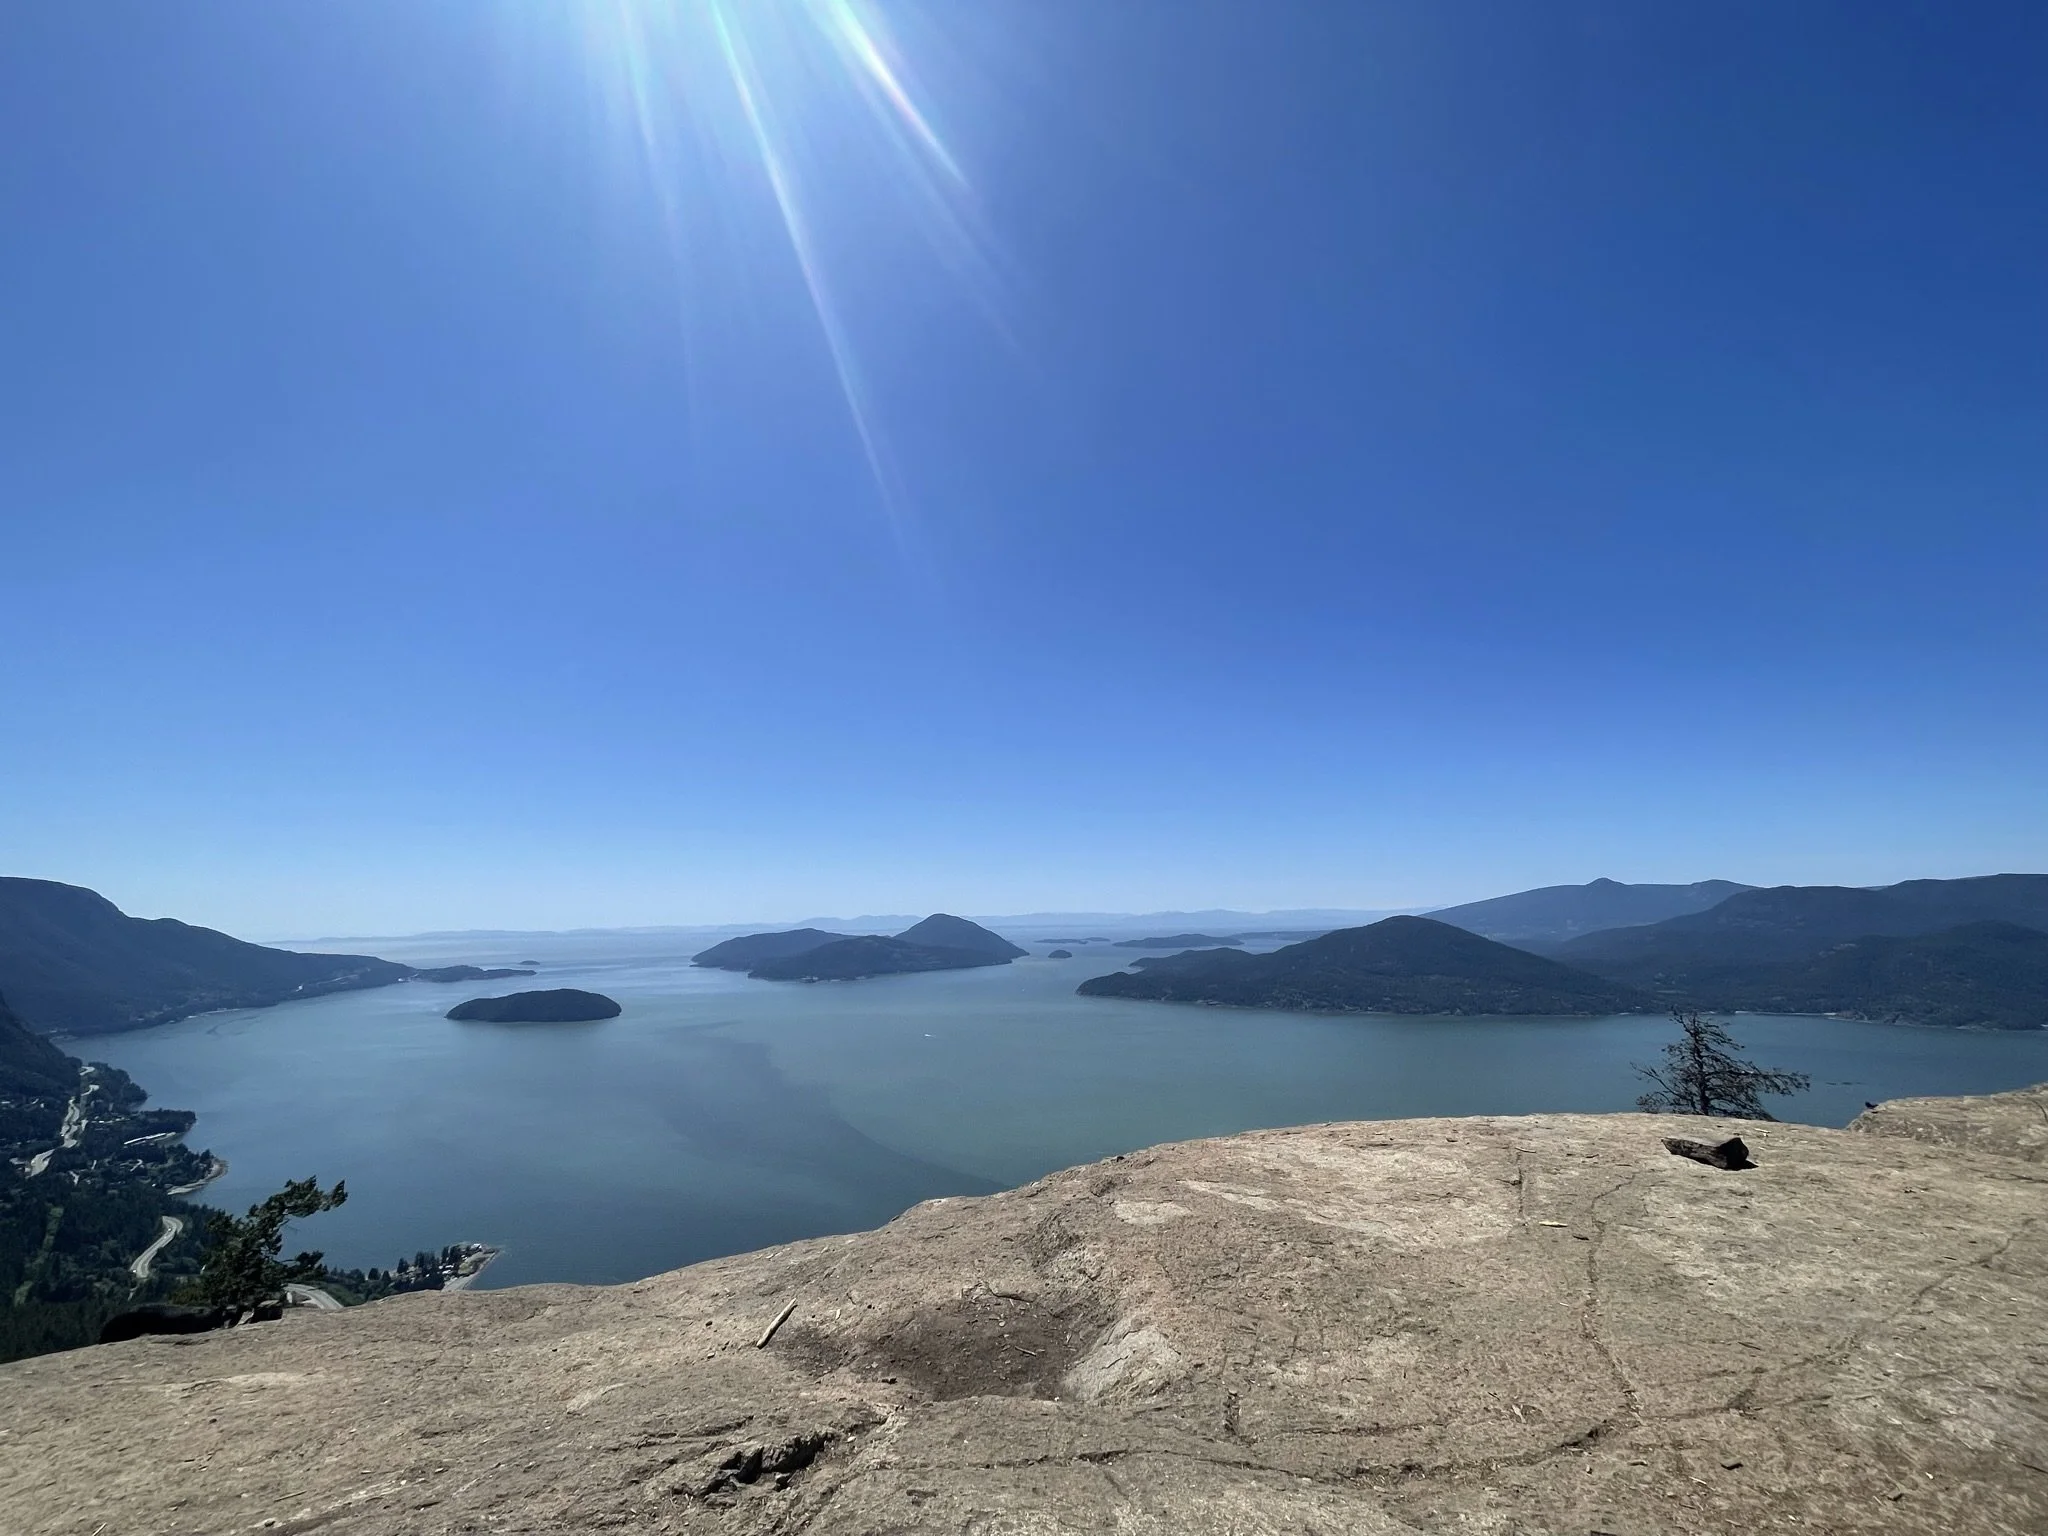
The actual hike starts off steep but once it levels out you are rewarded with an enjoyable walk through the forest. There are no crazy views along this hike, but once you reach the end it becomes obvious why I have recommended it. You will be treated to a panoramic view of the Howe Sound and Bowen Island, stretching as far as Horseshoe Bay and Vancouver Island. There are plenty of places to sit and enjoy the view at the top so make sure to pack a picnic and settle in.
The trail is easily marked but make sure to download the map beforehand as signal can be patchy. There is also an extension of the route to continue to Brunswick Mountain, but I did not complete this. If you miss the turning for the viewpoint, you’ll end up on this route so keep your eyes peeled!
Other things to consider:
· Dogs are allowed on leash!
· Toilet facilities are available at the trailhead.
· Bring the essentials! Bear spray, bug spray, first aid kit, GPS, battery pack etc.
Joffre lakes
Distance: 7.4km Average Time: 4 hours Elevation Gain: 464km
Joffre Lakes is just under an hour north of Whistler, past Pemberton and up the Duffy until you reach the designated carpark. The carpark is small but there is an overflow carpark a few hundred meters down the road. Joffre Lakes is easily one of BC’s most stunning hikes with relative easiness compared to other hikes in the province. Joffre Lakes consists of three stunningly turquoise lakes, lower, upper, and middle and can be done as either a day hike or as a multi-day hike utilizing the backcountry campsite just past the upper lake. The campsite is open from June to November and has 26 sites available which can be booked on the BC Parks website. Like Panorama Ridge and Black Tusk, you also need a free day-use pass for this hike in the busier months which can also be obtained from the above website.
The lower lake is an easy 5-minute walk from the carpark through the forest and gives you a small glimpse of what is to come. The whole hike is very well sign-posted, so make sure to stay on the trails to avoid getting lost. The lower lake to the middle lake is the longest stretch, with a gradual incline the whole way. Then, from the middle to the upper lake is just a short distance. All three lakes offer differing yet beautiful colours, with views of meadows, glaciers, and waterfalls all along the route. Once you have spent some time at the upper lake, you can head back down the path you came on all the way back to the carpark. The lakes will be incredibly tempting to swim in, but they will also be very cold as they are literally melted glaciers, so be prepared if you do decide to go for a dip.
I couldn’t do this blog post without mentioning this hike, and you’ll see why when you do it. Sometimes it’s the less challenging hikes that offer the best rewards. Also, if you are visiting from the south the chances are you will have to drive through Pemberton which makes for an excellent post hike explore. Make sure to subscribe to see future posts about what to do on a day out in Pemberton!
Other things to consider:
· No dogs allowed on this route.
· There are toilet facilities at the base of the hike and at the campground.
· Bring bug spray! The mosquitoes are relentless around the lake. Also bring the essentials such as bear spray, first aid kit, clothes for all weathers and a battery pack.
· If you have a valid campsite reservation you do not need the day pass. Make sure to carry all documentation with you as the rangers are hot on checking.
So, there you have it, my 6 favourite hikes from my time living in Whistler. As mentioned at the start, there are other hikes I did which were just shy on making this list, so watch this space as a part 2 might be coming soon.


HEY, I’M LOZ!
✈️🌍🥾🗻🎒
This is an insight into the life of a girl who likes to get lost. I write about all things travel and the outdoors. If you like my content please subscribe and if you really like it, please buy me a coffee so I can continue making content for you!